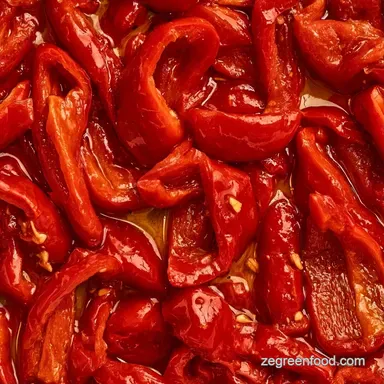
Italian Peppers in Oil with Garlic
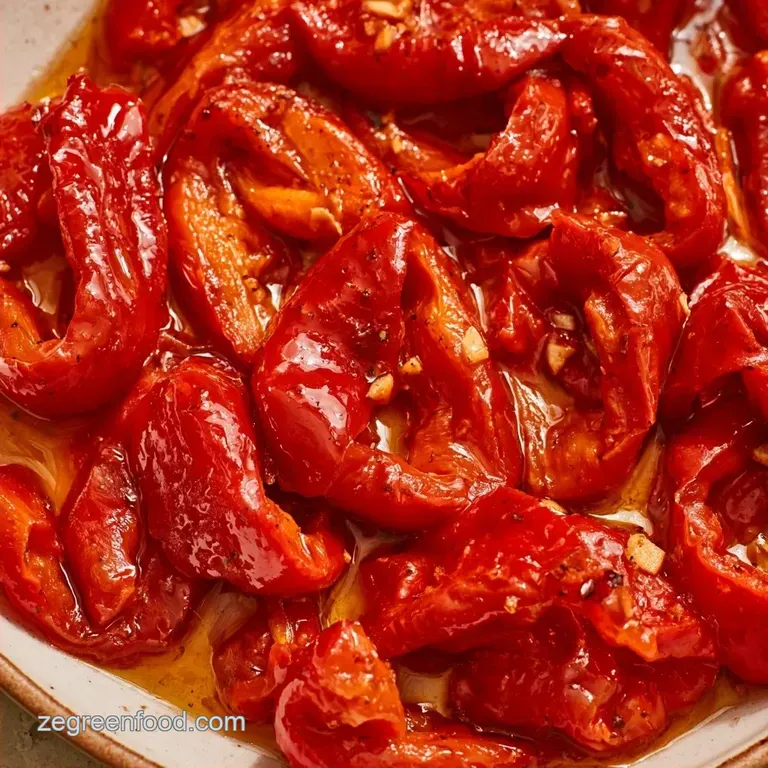
- Time: 10 minutes preparation + 10 minutes cooking
- Taste & Texture: Blistered, smoky, and zesty
- Perfect for: Antipasto platters or quick sandwich toppers
Homemade Italian Peppers in Oil
Sizzle. That is the sound of fresh pepper rings hitting a shimmering pan. I used to think that to get that deep, traditional flavor, you had to preserve peppers for weeks in a cellar or buy them from a specialty shop. I spent years thinking the "funk" only came with time.
But here is the thing: you don't need to wait. High heat does the heavy lifting here. By blistering the skins quickly, you get those smoky, charred notes that usually take ages to develop.
This version of Italian Peppers in Oil is all about layering. We start with the char, add the pungent garlic, and finish with a splash of acid. It's a fast process that gives you a condiment that tastes like it sat in an Italian pantry for a month.
Quick Recipe Specs
The goal here is speed and intensity. Most people overcook their peppers until they are mushy, but we want a bit of structure. By keeping the cook time tight, the peppers stay vibrant.
The oil doesn't just preserve the vegetables, it carries the garlic and red pepper flakes into every bite. Since we use a small amount of vinegar, the acidity stays bright and doesn't overpower the natural sweetness of the peppers.
How This Works
- over High heat Searing: Quick browning creates smoky, caramelized notes in minutes.
- Residual Heat: Adding garlic after the pan leaves the fire prevents the garlic from burning and turning bitter.
- Acid Balance: The vinegar cuts through the heavy oil to wake up the flavors.
| Method | Time | Texture | Best For |
|---|---|---|---|
| Fresh Sear | 20 mins | Blistered/Tender | Immediate eating |
| Slow Cure | 2 weeks | Soft/Pickled | Long term pantry |
| store-bought | 0 mins | Mushy/Oily | Last resort |
Your Shopping List
| Ingredient | What It Does | Best Swap |
|---|---|---|
| Italian Long Sweet Peppers | Provides the base bulk and sweetness | Red Bell Peppers |
| Extra Virgin Olive Oil | Carries flavor and preserves | Avocado Oil |
| White Wine Vinegar | Adds brightness and tang | Apple Cider Vinegar |
| Garlic | Adds pungent, aromatic depth | Garlic Powder (1/2 tsp) |
For the Pepper Base
- 1 lb Italian Long Sweet Peppers Why this? They have the right balance of sweetness and skin thickness.
- 2 tbsp extra virgin olive oil Why this? For the initial over high heat sear.
For the Infusion
- 1/2 cup extra virgin olive oil Why this? To fully submerge and preserve the peppers.
- 3 cloves garlic, thinly sliced Why this? Slices infuse the oil more evenly than minced garlic.
- 1 tsp sea salt Why this? Draws out moisture and enhances the char.
- 1/2 tsp red pepper flakes Why this? Adds a gentle back end heat.
- 2 tbsp white wine vinegar Why this? Sharp acidity to balance the oil.
The Essential Gear
No specialized equipment is necessary. The most critical tool is a heavy skillet, as its superior heat retention ensures better blisters.
Stainless steel or cast iron pans are the ideal choice. Non-stick options are usable, but they often fail to reach the high temperatures required for that deep mahogany char. You will also need a few sterile glass jars to maintain freshness.
Cooking Steps
Phase 1: Preparing the Peppers
- Rinse the peppers and pat them completely dry. Note: Excess moisture in the pan can cause the oil to splatter.
- Cut off the stems and clear out the seeds.
- Slice the peppers into rings roughly 1/2 inch wide.
Phase 2: The High Heat Sear
- Warm 2 tbsp of olive oil in a pan over medium high heat.
- Arrange the pepper rings in a single layer.
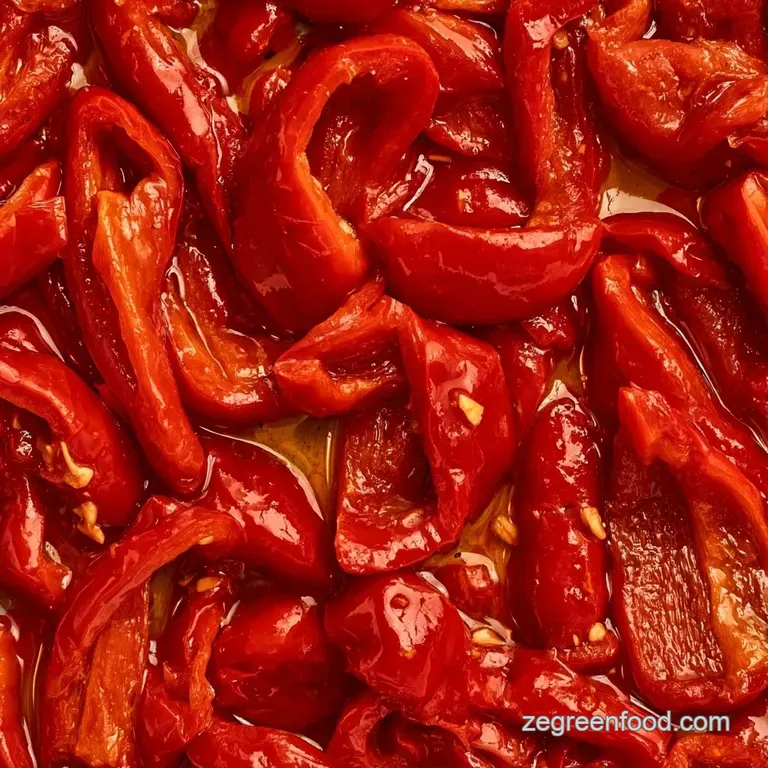
- Sauté for 5-7 minutes, stirring occasionally, until the skins are blistered and a deep mahogany color.
Phase 3: The Flavor Infusion
- Take the pan off the heat immediately.
- Stir in the sliced garlic, sea salt, and red pepper flakes. Mix for 30 seconds until the garlic softens from the residual heat.
- Mix in the white wine vinegar. Note: It should hiss slightly when it hits the pan.
Phase 4: Jarring and Setting
- Using a slotted spoon, transfer the peppers and garlic into sterile jars.
- Pour the remaining infused oil from the pan over the top.
- Make sure the peppers are fully submerged, seal the lids tightly, and allow them to cool to room temperature before refrigerating.
Key Techniques Explained
The trick here is the temperature management. If you keep the pan on the heat while adding the garlic, the garlic will burn in seconds. Burnt garlic tastes like charcoal, which ruins the delicate sweetness of the peppers. By pulling the pan off the burner, you use the stored heat to "bloom" the aromatics.
Another point is the drying of the peppers. I once skipped this step and spent five minutes dodging hot oil pops. Getting them bone dry ensures they sear instead of steam. This is what gives you that rich, velvety mouthfeel once they are submerged in oil.
Fixing Common Issues
If your peppers come out looking pale, you likely crowded the pan. When there are too many peppers, they release moisture and boil in their own juices. To get that char, give the peppers room to breathe.
If the garlic is too pungent or raw, you can let the pan sit for an extra 30 seconds before adding the vinegar. This gives the garlic more time to mellow out.
Peppers are too mushy
Usually a result of overcooking or overcrowding. Cook in smaller batches next time to keep the heat high.
Garlic tastes bitter
This happens when the garlic hits a pan that is too hot for too long. Always remove the pan from the heat before adding the garlic.
Oil is cloudy
This is often due to putting the jars in the fridge too quickly. Let them reach room temperature first.
| Problem | Root Cause | Solution |
|---|---|---|
| Pale peppers | Pan too crowded | Cook in batches |
| Bitter garlic | Overheated garlic | Remove pan from heat first |
| Cloudy oil | Rapid cooling | Cool to room temp first |
Adjusting the Batch
When you want to make a larger amount, don't just double the garlic and salt. Spices and aromatics can become overwhelming in large volumes.
For a 2x batch, use 1.5x the garlic and red pepper flakes. You will definitely need to work in batches for the searing phase. If you put 2 lbs of peppers in one skillet, they will steam and you'll lose the char.
For a smaller batch, you can halve everything. Just keep an eye on the vinegar, as it evaporates faster in smaller quantities.
| Item | Budget Option | Impact | Savings |
|---|---|---|---|
| EVOO | Refined Olive Oil | Less fruity flavor | $2-4 per bottle |
| Long Peppers | Red Bell Pepper | Sweeter, less "pepper" snap | $1-2 per lb |
| White Wine Vinegar | Distilled White Vinegar | Sharper, more aggressive tang | $0.50 per bottle |
Storing Your Peppers
Keep these in the fridge for up to 3 weeks. Make sure the oil always covers the peppers to prevent spoilage. If you see any peppers poking through the surface, just push them down with a clean spoon.
Don't freeze these. The oil and the cell structure of the peppers don't handle the freeze thaw cycle well, and you'll end up with a watery mess.
To avoid waste, don't toss the pepper stems. I throw mine into a bag in the freezer and add them to a vegetable stock later. The oil remaining in the jar after you eat the peppers is liquid gold. Use it to sauté eggs or toss with pasta. For another great way to use peppers, try my Italian Green Peppers side.
Twists and Swaps
If you want a more herbal note, add a sprig of fresh oregano or a bay leaf to the jar. The flavor will seep into the oil as it sits in the fridge.
For those who like more heat, you can use Abruzzi hot peppers or simply double the red pepper flakes. If you prefer a sweeter profile, a pinch of brown sugar added with the vinegar helps balance the tang.
You can also swap the oil for a blend of olive oil and a neutral oil like grapeseed if you want a lighter taste.
Serving Ideas
These are a staple for any antipasto board. Pair them with sharp provolone, salty olives, and crusty bread. They also make a killer topping for a turkey sandwich or a grilled panini.
If you are making a pizza at home, scatter these on top before baking. The oil seeps into the crust and the peppers caramelize even further in the oven.
They also work as a side for hearty meals. If you are serving Vegan Stuffed Green Peppers, a few of these oil preserved rings on the side add a great punch of acidity to the plate. Trust me, the contrast between the baked pepper and the zesty oil is brilliant.
Recipe FAQs
Which variety of peppers is used for this recipe?
Italian Long Sweet Peppers. These are specifically chosen for their natural sweetness and ability to blister perfectly in hot oil.
What oil works best for frying these peppers?
Extra virgin olive oil. It provides an authentic Mediterranean flavor and handles the medium high heat required for blistering.
How many minutes should I sauté the peppers?
Sauté for 5 7 minutes. Keep them in a single layer until the skins blister and develop a deep mahogany colored char.
How do I prevent the oil from splattering?
Pat the peppers completely dry after washing. Any remaining moisture on the skin will cause the hot oil to pop.
Why add the sliced garlic after removing the pan from heat?
Residual heat prevents burning. Adding the garlic at the very end softens the slices without making them bitter.
Can I use yellow bell peppers instead?
Yes, but the flavor differs. While they work, bell peppers lack the specific sweetness of the Italian variety; for a different approach, see how we handle roasted green peppers.
Is it true that I can freeze these peppers once they are in the oil?
False. The freeze thaw cycle destroys the cell structure of the peppers and causes the oil to separate into a watery mess.
What does the white wine vinegar add to the jar?
It provides essential acidity. This balances the richness of the olive oil and helps preserve the peppers for longer storage.
Italian Peppers In Oil